
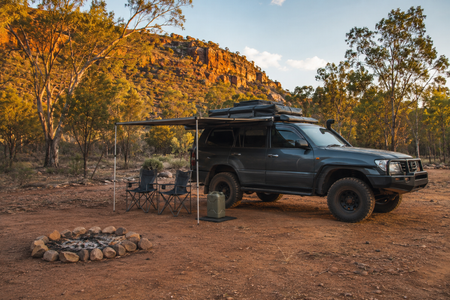
Step-By-Step Guide - How To Mount A Roof Top Tent
Posted by Rugged 4x4 Adventure Gear on 23rd Oct 2024
Rugged 4x4 · Fitment guide
Mount your roof top tent with confidence.
There's nothing like waking up above the ground, ladder down, billy on the boil, with the whole campsite laid out below you. Before you get there, fit the tent carefully and follow the instructions for your exact model.

Before you start
Tools you'll need
- Phillips head screwdriver
- Box cutter
- 13mm ratcheting wrench
- 10mm ratcheting wrench
- Hacksaw
What's in the box
Unbox everything before you start and lay the parts out where you can see them. Most kits include:
- The tent, cover and fly
- A ladder and mattress
- A hardware pouch
The pouch includes 2 bungees, 2 ladder brackets, 8 aluminium channel sliders with bolts and nuts, 4 end caps, 4 steel mounting plates, the wrenches you'll need, and 4 medium bolts with washers.

Installation · Part 1
Prep the tent base
In this step-by-step guide we'll use a side mounting as an example on top of cross bars.
- Place the tent on a clean, flat surface with the straps facing down.
- Undo the side straps and the strap running across the base.
- Grab the mounting tracks and lay them on the tent base, running parallel to the hinges. Line up the holes in the tracks with the holes in the base.
- Take the mounting nuts off the four medium bolts and slide them into the mounting channels so they sit under the aligned holes.
- Take the bolts (each with two washers) and slide them between the mattress and the base, down into the pre-drilled holes and into the nuts you just positioned in the tracks. Don't fully tighten yet.

Installation · Part 2
Fit the ladder
- Flip the tent over so you can access the ladder brackets.
- Unscrew the bolts on each ladder bracket and position the brackets over the pre-drilled holes at the edge of the base.
- Slide the longer bolts (with washers) between the mattress and base, through the pre-drilled holes and up through the bracket. Fit a nut on each — leave them loose for now.
- Attach the ladder itself by passing the remaining bolt length through the holes in the top of the ladder, then fit and tighten a nut on both sides.
- Rotate the ladder through its full range a few times to check it moves freely, then tighten the bracket bolts fully.
- Secure the ladder with the travel straps, and reattach the tent's side straps.
- Fit the travel cover over the top of the tent. Zip it carefully; the canvas can snag if you rush.

Installation · Part 3
Mount the tent to your roof rack
This is the step where a second pair of hands really matters — you're lifting a heavy tent to roof height and holding it steady while you align the mounting points. The original 45kg+ reference is general; the RCX 1.3 alone weighs 87kg.
Before you lift, decide on your mounting orientation: side rails or crossbars, and whether you want the tent to open toward the side of the vehicle or the rear. This guide covers a side-opening mount on crossbars, the most common setup.
- With the tent on the roof, position the mounting tracks in the base so they run perpendicular to your roof rack bars.
- At each of the four points where a mounting track crosses a roof rack bar, fit two aluminium channel sliders with bolts — one on either side of the bar.
- Fit a steel mounting plate on the bolts, underneath the roof rack bar, and secure with nuts. Tighten fully with your wrench.
- Push the rubber end caps into the open ends of the mounting tracks to help keep water and dirt out of the channel over time.
At camp
How to open the roof top tent
Once the tent is mounted, follow the product instructions for opening it and setting up the fly.
Now you're ready to trek and camp out.
Need a hand?
Check your rack before you buy.
Not sure your current roof rack or crossbars can handle a roof top tent? Get in touch with our team and we'll help you check compatibility before you buy.